Showing posts with label papier mâché. Show all posts

Wednesday, August 28, 2013

Papier Mâché Bears (part 1)

I would like to introduce a new art lesson for the beginning of the school year . Some teachers (especially kindergarten teachers ) like to start the year with a unit on bears. If you are one of them , or if you are planning to read the book "Brown Bear, Brown Bear , What Do You See ?" by Eric Carle , or any other book about bears ....then this lesson may be a fun activity to go along with . We are going to make some bears in papier mâché .

Grade level: You can do that with any grade . If you have younger students , you may want to have a helper in your classroom . Older students may add more details on their project .

Objective : To create a 3D sculpture . It is always nice to explore new art form that goes beyond a piece of paper .

Resources : You can find plenty of resources online , starting with information on papier mâché , as well as different projects . You will even find different recipes on how to make your papier mâché paste . Just look around and choose what you need for your lesson . Just remember to always name your source !

Definition : What is papier mâché ? "Papier mâché" means "chewed paper" in French . But obviously you are not going to ask your students to chew newspaper pieces  ;) Something made out of papier mâché is something made out of paper pieces (usually newspaper) glue together with a special paste . This paste can be a special glue , wallpaper paste or some flour mixture . I usually choose the last one as it is the most affordable and it does the job really well .
When you make papier mâché , you usually use a "base" like a balloon , chicken wires or aluminium foil . You cover this base with strips of newspaper soaked in papier mâché paste . You make several coats of this and let it dry slowly . You will then paint over it to make your piece look nicer .

Material needed :  For this project we will need the following :

                            * newspapers . (It is a good idea to ask your students to bring newspapers a few weeks prior to the project .If you do this at the beginning of the year you may save newspapers during the summer or use leftovers of last year supply)
                            * aluminium foil
                            * masking tape
                            * scissors
                            * cardboards
                            * papier mâché paste (see recipe)
                            * white glue
                            * toothpicks
                            * small bowl (one per student where they will have their papier mâché mixture)
                            * white acrylic paint
                            * paintbrushes and small plastic cups

Papier mâché paste recipe : To make papier mâché paste is really easy and inexpensive ! You will find most ingredients in your pantry closet as they are : flour , water and salt . To see the step-by-step recipe click here.


Activity : (1) Have students cut with their fingers (no need for scissors here ) small strips of newspaper .(We do not need big strips as we are doing a rather small project .)
               (2) Each student should have two pieces of aluminium foil . One small that they will shape as a ball (that will become the head of their bear) and another slightly bigger . It will be shaped as an oval (it will become the body ). Each student should roll those two pieces on their desk until they become smooth . Make sure that the oval piece has a flat bottom (so it can stand straight ).


              (3) Add a toothpick to the body :


              (4) Add some white glue to the toothpick and to the top of the oval shape . Add the head :


              (5) Give each student four small additional pieces of aluminium foil . Two bigger pieces that they will roll on their desk in their length (like if they were making a worm with play dough ). They will become the arms of the bear .And two tiny pieces that will be shapes like balls and will be the feet . Make each piece smooth , by rolling them on the desk .Here is what you will get :


               (6) Now your students will need to cover all those six pieces (the head and body , the two arms and the two feet ) with newspaper .To accomplish that they should take one piece of newspaper strip at a time , dip it in the papier mâché mixture , gently squeeze the extra paste and cover the head . They should keep doing this step until the entire bear is covered .They should start from the top of the bear ....and work their way to the bottom it make it easier that way.


So your students should have cover the entire body , the two arms and the two feet . Let it dry . Apply a second coat of newspaper soaked in paste . Let it dry .

               (7) Now they will have to attach the arms and the feet to the body somehow . That is pretty simple actually . Let's start with the arms . Attach each arm with a couple of piece of masking tape to the back of the body , just like that :


Don't worry about aesthetics right now ....the tape will soon be covered up with newspaper :)

               (8) The feet are a little more trickier . If you have young students , you and your helper may want to do this .You will need to break a toothpick in a smaller piece and insert it into the foot , like this :


 Add a little bit of white glue and insert the toothpick inside the body now .....so it will look like this :


Follow the exact same step for the second foot :


               (9) Because you do not want the arms and the feet to come off , your students will have to apply some newspaper  dipped in papier mâché paste and cover the back of the arms and the feet .This way they will make sure they are all well attached to the body .


As you can see , the feet are now firmly secured and the tape (from) the arms are no longer visible :


               (10) Now is time to make the ears . This is quite easy .Have your students grab a small piece of cardboard and draw two half circles on it .


                 (11) They should cut them with scissors and attach them to the head of their bear . For that they will need once again a little bit of masking tape (one on each side of the ear ) :


And once again ask your students to cover the ears with small pieces of newspaper dipped in papier mâché paste .


Each bear should now look like this :


  Let them dry overnight !

          (12) The following day , each student will be able to paint some white acrylic paint over the newspaper , starting from the top and working their way to the bottom :


Each students should apply two coats of white acrylic paint . The bears should now look like this :


Here ! We are done for now ! The bears will have to dry . In the next lesson the students will give the bears their personality by painting them with acrylic paints  :)


Friday, September 30, 2011

Cat in papier mâché , part 3

Part 3 .
Painting your cat .


Material needed :
* your cat in papier mâché
* gesso (or white acrylic paint)
* HB pencil
* acrylic paints (as many colors as possible )
* old newspaper (to cover the tables)
* paintbrushes of different thickness
* small cups of water (to rinse the paintbrushes)
* rags or paper towels (to wipe out paintbrushes )
* small plastic plates (one per student) to put a small amount of acrylic paints of different colors
* Varnish (to protect the paint from chipping off )

Activity :
(1) Each student should take their cat , now entirely covered with newspaper ...


and apply a couple of coats of gesso (or white acrylic paint). You should plan that one day ahead of the painting of the cat itself, so it has plenty of time to dry . If you are an art docent and are limited by time like I was (I only had one hour a month !) , you could go to school and apply the gesso on all the cats yourself . It will save you some time and ensure that all the students will have enough time to paint their cat entirely .


(2) Each student now has a "white" cat . They can take an HB pencil and draw the outlines of their cat's eyes , nose , a particular design , etc.


(3) Now they can choose the colors they want to paint their cat with and put a small amount of each color in a small plastic (or paper) plate . Ideally it would be a good idea to put two coats of paint , but again if time is limited , one coat of paint will do . Each student should have a small cup filled with water to rinse their paintbrush , and a rag to wipe it out .


Here is the finished cat ...


Once the paint is dry , don't forgot to apply some varnish to protect the cat . (It will prevent the paint to chip off too easily .) I would suggest that you do day the day after the painting .

Other examples of cats :

When I did this project with these 5th graders , the teacher had a classroom filled with "Garfield"... so we made some "Garfield" cats...Here is an example from one of the students ...

Examples of cats with random designs...


A black cat. Perfect for...Halloween ...


I hope you and your students or children had fun =0)

Tuesday, August 23, 2011

Cat in papier maché , part 2

Part 2 :

How to make the cat itself .

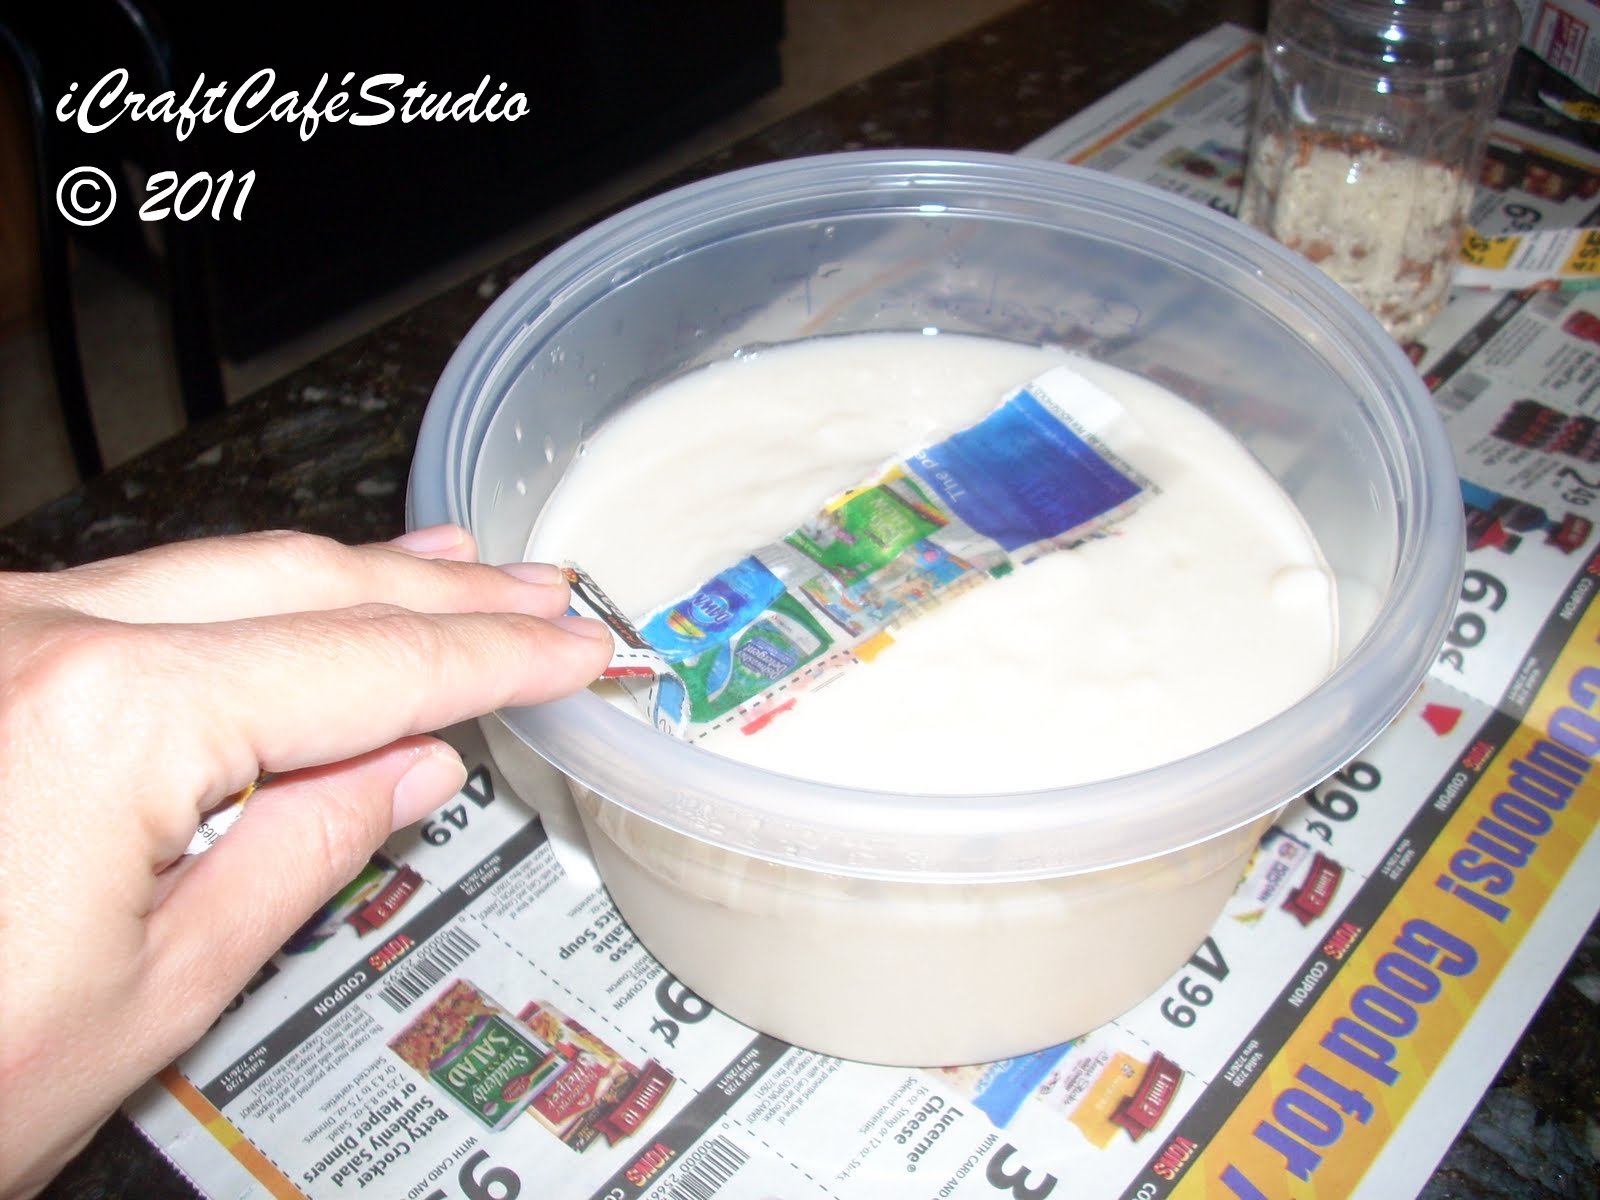
In part one , I explained to you how to make some papier mâché paste . I gave you some alternative recipes as well. Now we are all ready to start the "real" lesson : the students will learn to make a cat in papier mâché . How exciting ! They will love it !!!

Material needed : Here is what you will need :
* some clean empty plastic bottles ( like Gatorade , soda or juice bottle )
* some uncooked rice
* some dry beans
* a funnel
* a plastic spoon
* some labels (one for each student)
* sharpies
* some aluminum foil
* cardboard (from old cereal or cookie boxes)
* a pencil
* scissors
* masking tape
* newspaper (that you will have collected from the students )
* papier mâché paste (we made in part 1)

Activity :
(1) Each student will fill the bottle with some rice (using a funnel and a plastic spoon). They will add a little bit of dry beans and then mix .(The rice and the beans will put some weight in the bottle , which will prevent it to tip later on .) Close the bottle .


(2) Have the students write their name on a label with a sharpie . Then have them glue the label at the bottom of their bottle . (It will make the identification of each cat easier after they dry !)


(3) Next ask each student to make a ball with some aluminum foil .

They should cover it with about half a page of a newspaper ...


and secure it with some masking tape at the top of the bottle . This will be the head of their cat .


(4) To make the tail , each student will need another piece of aluminum foil . This time they will roll it as if they were making a snake with play dough ...

They should cover it with a newspaper page as well and secure it with masking tape ...


And attach it to the base of the bottle with masking tape as shown .


(5) For the ears , the students will simply draw two triangles on a piece of cardboard ...

cut them with their scissors ...


and attach those two triangles to the head with masking tape . The ears can be a little bit tricky to secure and some students may need your help with it .


(6) Each students will then gather a few (2 to 4) pages of newspaper and and tear it up in pieces of all sizes and lengths (long , short , wide , narrow).


(7) The students are now ready to dip their strips of paper , one at a time , in the papier mâché paste .(Each student should be provided with a small paper bowl containing some papier mâché paste .)


After dipping the strip in the papier mâché paste , they should directly adhere the strip to the bottle and smooth it with their fingers . They should start at the bottom and work their way to the top , go over the head , the ears and of course the tail . Once they are done , they should go over a second time , so they will have two coats of papier mâché .


Now they will have to let it dry...until next lesson ...