Part 2 :
How to make the cat itself .
In part one , I explained to you how to make some papier mâché paste . I gave you some alternative recipes as well. Now we are all ready to start the "real" lesson : the students will learn to make a cat in papier mâché . How exciting ! They will love it !!!
Material needed : Here is what you will need :
* some clean empty plastic bottles ( like Gatorade , soda or juice bottle )
* some uncooked rice
* some dry beans
* a funnel
* a plastic spoon
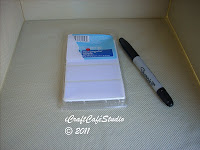
* some labels (one for each student)
* sharpies
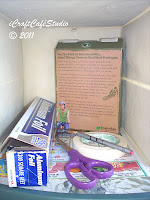
* some aluminum foil
* cardboard (from old cereal or cookie boxes)
* a pencil
* scissors
* masking tape
* newspaper (that you will have collected from the students )
* papier mâché paste (we made in part 1)
Activity :
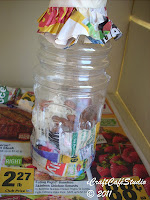
(1) Each student will fill the bottle with some rice (using a funnel and a plastic spoon). They will add a little bit of dry beans and then mix .(The rice and the beans will put some weight in the bottle , which will prevent it to tip later on .) Close the bottle .

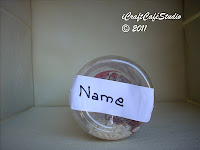
(2) Have the students write their name on a label with a sharpie . Then have them glue the label at the bottom of their bottle . (It will make the identification of each cat easier after they dry !)
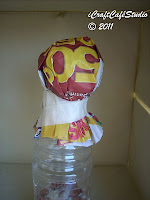
(3) Next ask each student to make a ball with some aluminum foil .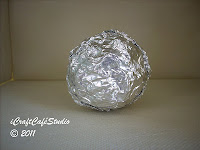
They should cover it with about half a page of a newspaper ...

and secure it with some masking tape at the top of the bottle . This will be the head of their cat .
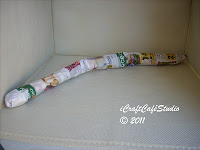
(4) To make the tail , each student will need another piece of aluminum foil . This time they will roll it as if they were making a snake with play dough ...
They should cover it with a newspaper page as well and secure it with masking tape ...
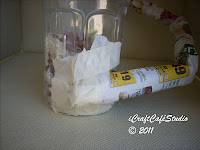
And attach it to the base of the bottle with masking tape as shown .
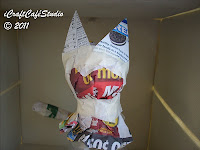
(5) For the ears , the students will simply draw two triangles on a piece of cardboard ...
cut them with their scissors ...

and attach those two triangles to the head with masking tape . The ears can be a little bit tricky to secure and some students may need your help with it .
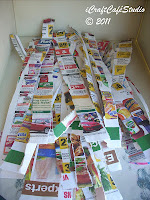
(6) Each students will then gather a few (2 to 4) pages of newspaper and and tear it up in pieces of all sizes and lengths (long , short , wide , narrow).
(7) The students are now ready to dip their strips of paper , one at a time , in the papier mâché paste .(Each student should be provided with a small paper bowl containing some papier mâché paste .)

After dipping the strip in the papier mâché paste , they should directly adhere the strip to the bottle and smooth it with their fingers . They should start at the bottom and work their way to the top , go over the head , the ears and of course the tail . Once they are done , they should go over a second time , so they will have two coats of papier mâché .

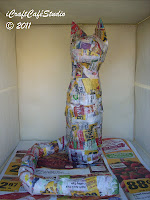
Now they will have to let it dry...until next lesson ...
Material needed : Here is what you will need :
* some clean empty plastic bottles ( like Gatorade , soda or juice bottle )
* some uncooked rice
* some dry beans
* a funnel
* a plastic spoon
* some labels (one for each student)
* sharpies
* some aluminum foil
* cardboard (from old cereal or cookie boxes)
* a pencil
* scissors
* masking tape
* newspaper (that you will have collected from the students )
* papier mâché paste (we made in part 1)


Activity :
(1) Each student will fill the bottle with some rice (using a funnel and a plastic spoon). They will add a little bit of dry beans and then mix .(The rice and the beans will put some weight in the bottle , which will prevent it to tip later on .) Close the bottle .

(2) Have the students write their name on a label with a sharpie . Then have them glue the label at the bottom of their bottle . (It will make the identification of each cat easier after they dry !)

(3) Next ask each student to make a ball with some aluminum foil .

They should cover it with about half a page of a newspaper ...

and secure it with some masking tape at the top of the bottle . This will be the head of their cat .

(4) To make the tail , each student will need another piece of aluminum foil . This time they will roll it as if they were making a snake with play dough ...

They should cover it with a newspaper page as well and secure it with masking tape ...

And attach it to the base of the bottle with masking tape as shown .

(5) For the ears , the students will simply draw two triangles on a piece of cardboard ...

cut them with their scissors ...

and attach those two triangles to the head with masking tape . The ears can be a little bit tricky to secure and some students may need your help with it .

(6) Each students will then gather a few (2 to 4) pages of newspaper and and tear it up in pieces of all sizes and lengths (long , short , wide , narrow).

(7) The students are now ready to dip their strips of paper , one at a time , in the papier mâché paste .(Each student should be provided with a small paper bowl containing some papier mâché paste .)
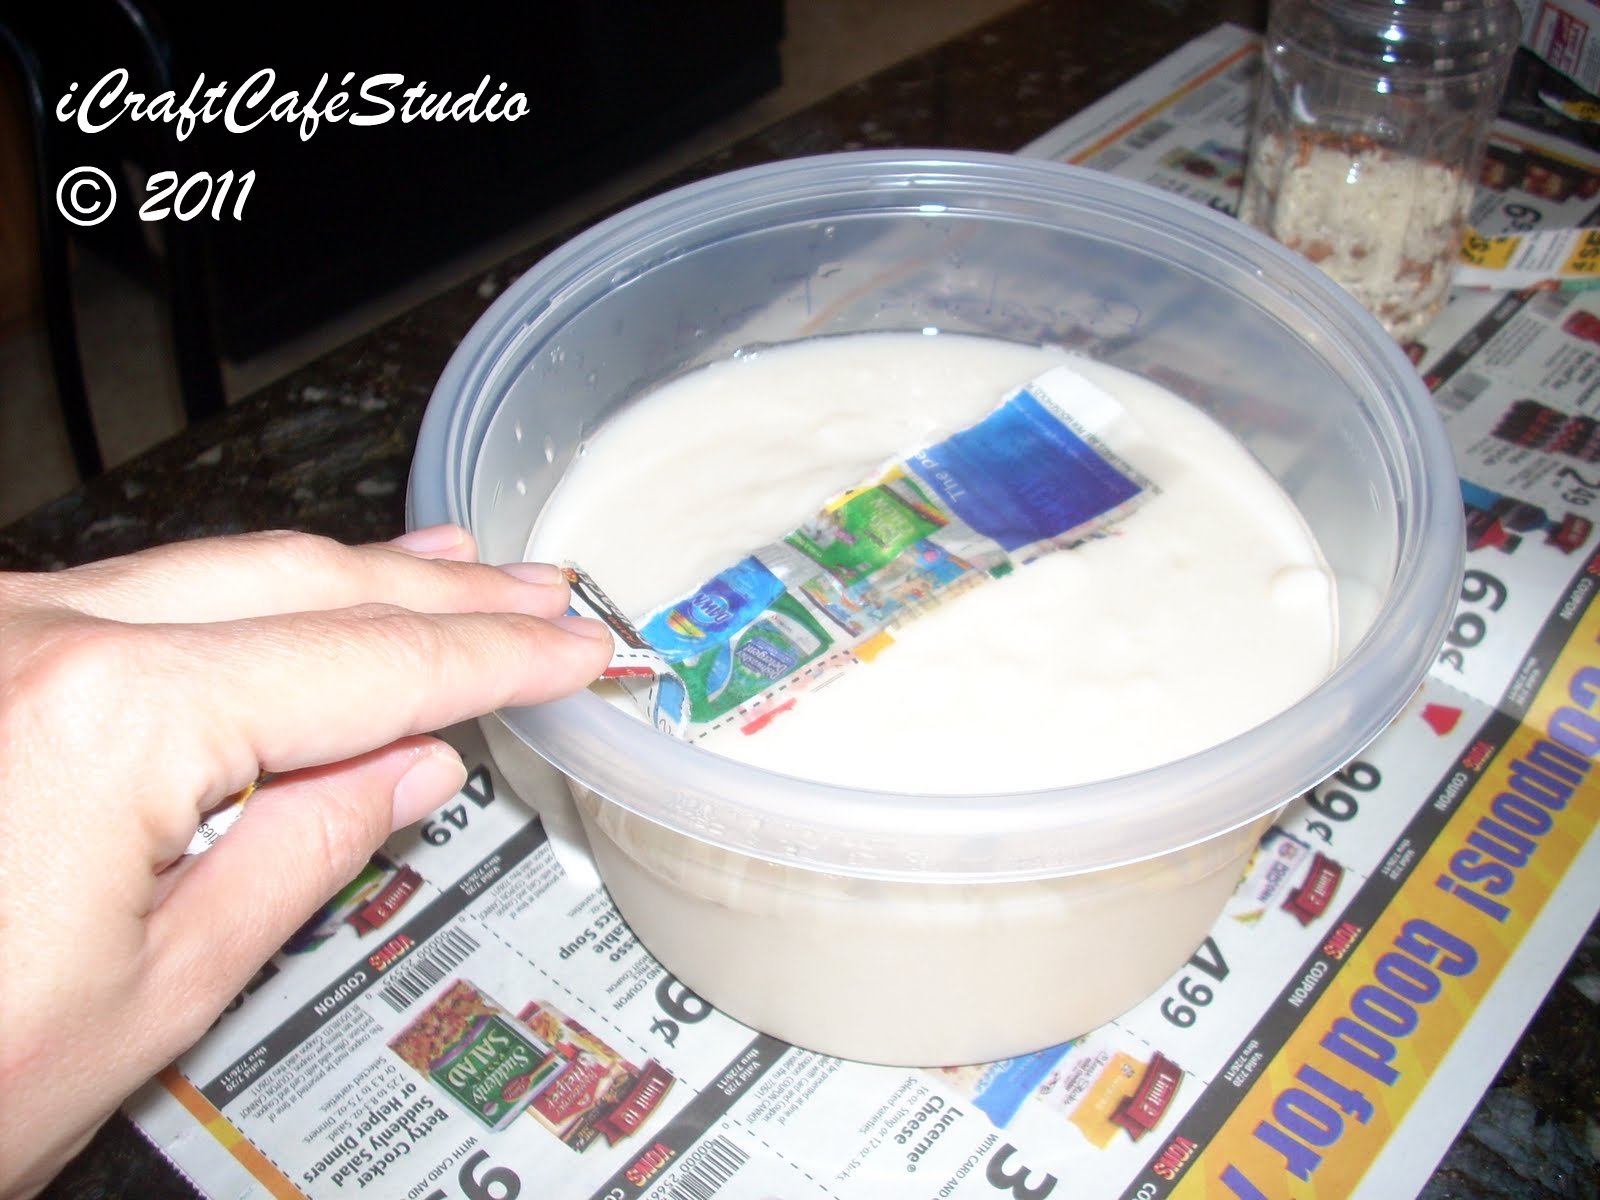
After dipping the strip in the papier mâché paste , they should directly adhere the strip to the bottle and smooth it with their fingers . They should start at the bottom and work their way to the top , go over the head , the ears and of course the tail . Once they are done , they should go over a second time , so they will have two coats of papier mâché .


Now they will have to let it dry...until next lesson ...


