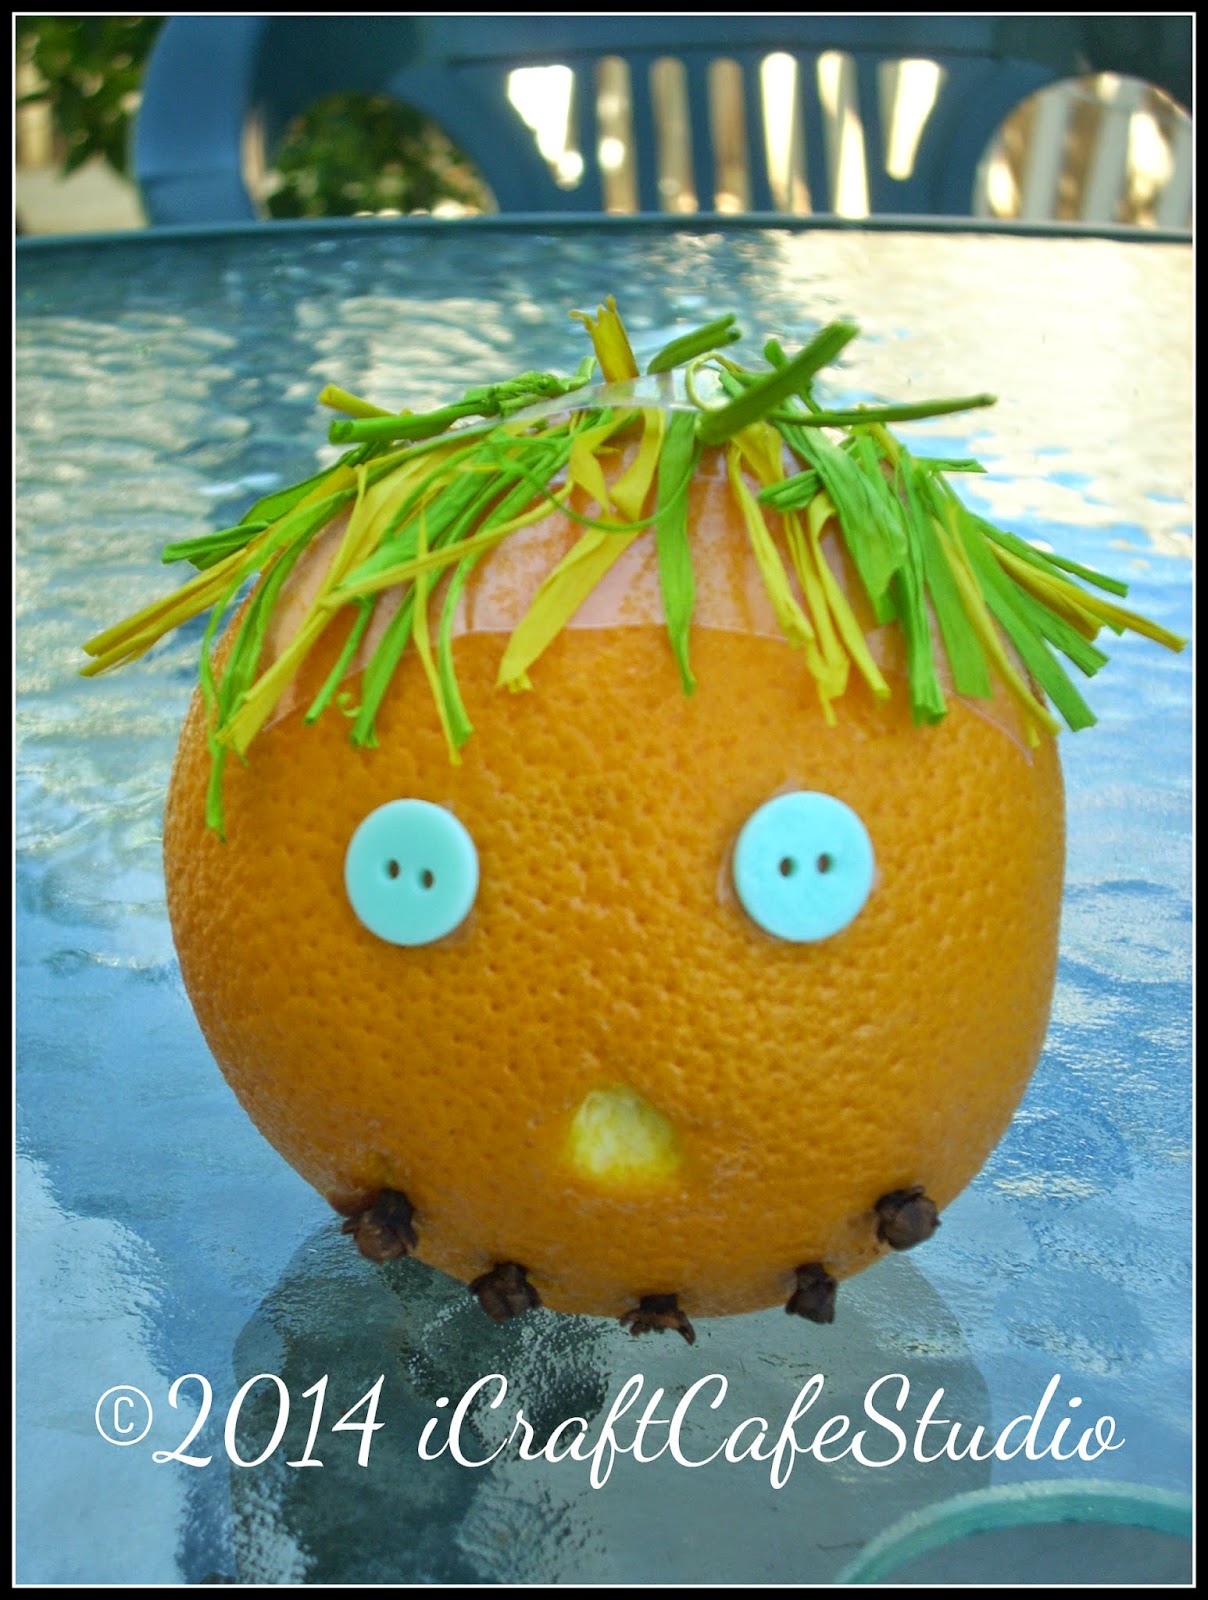
Hi everyone ! Sorry for not posting for a while . I spent a couple of weeks with my fabulous sister and then I had pretty much a ton of work to catch up . But I am back , and I will keep you up-to-date with my gardening adventures . As you remember I started a little garden last March . I went a little bit overboard by planting several flowers and a lot of vegetables . So let see how things are going almost four months later ...
Herbs :
I love to add fresh herbs when I am cooking . So Last March , I planted a few of them . I planted some cilantro , some dill , some sweet basil , some parsley and some spearmint . It started to get really hot since last month , and the herbs were having a hard time to put up with the heat . So I had to bring them inside where they kept thriving . I did not take any more pictures of most of the herbs, but they grew a lot ....and we ate and enjoyed them a lot . The spearmint started to grow pretty late (in comparison to the other herbs ) so I took a couple of photographs to show to you :
I am quite happy with it as it is the very first time that I am able to grow any spearmint ! Can't wait to try some :)
The thyme and the oregano did not grow .I will have to try again at some other time !
Vegetables :
As you may remember , I went crazy and started to grow a lot of different vegetables . I was just curious to see what I could grow .
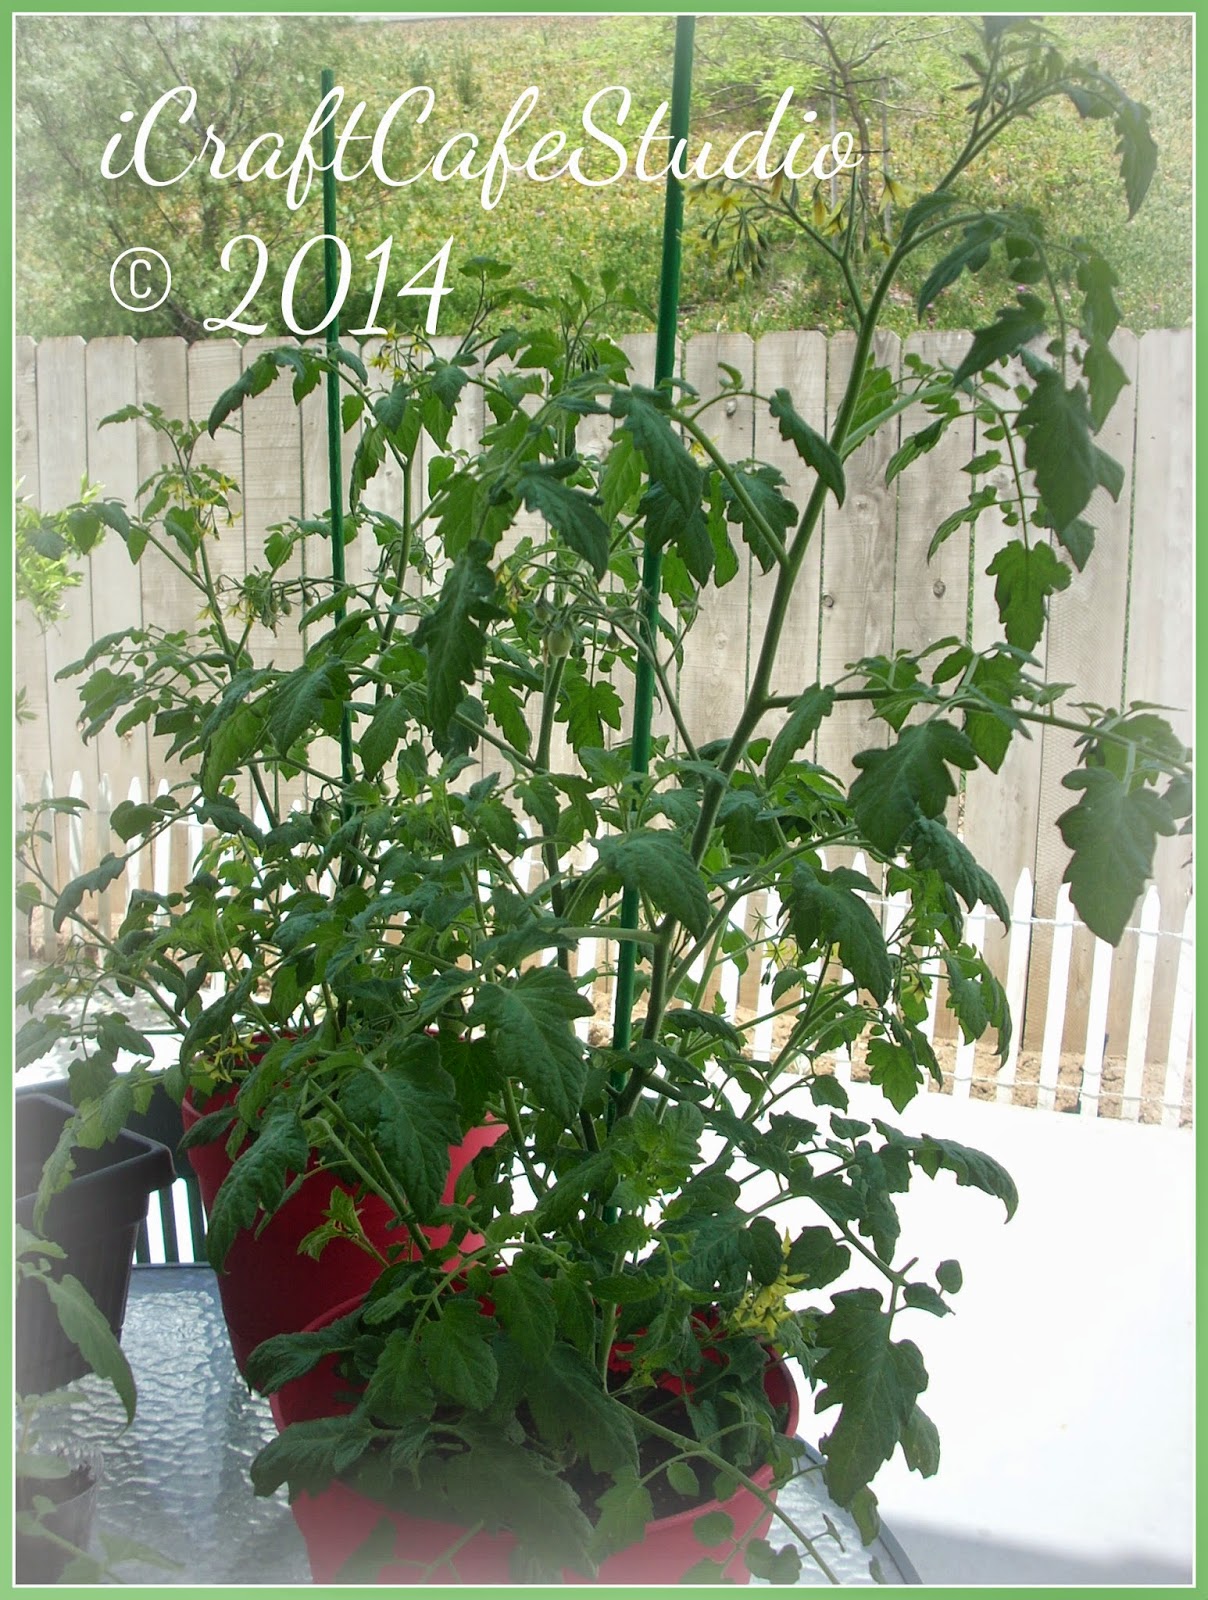
(1) Tomatoes : The tomatoes were a complete success ! They have been growing amazingly ! I had grown tomatoes before , but I never saw anything like that ! I get 10 to 13 grape tomatoes each day. That is not much , but plenty to add to a salad :) Take a look at them :
They were growing so much and becoming so big , I had to transplant the tomato plants in bigger pots and move the pots from the shelf to the floor . I was a little shaky , because I am not too good at transplanting plants ....but they survived !
Don't they look delicious ? These are all grape tomatoes , because they are my kid's favorite . But I also recently tried to plant two grape vine tomato plants ...there are slowly starting to grow .
(2) Radishes:
Well , what can I say ? The radishes were pretty much of a disaster ! With the exception of one , they did not thrive . I believe they did not have enough sun on the shelf . They were fighting to get some sunshine . The leaves became very big ...but the radishes themselves stayed tiny . To try again in full sun !
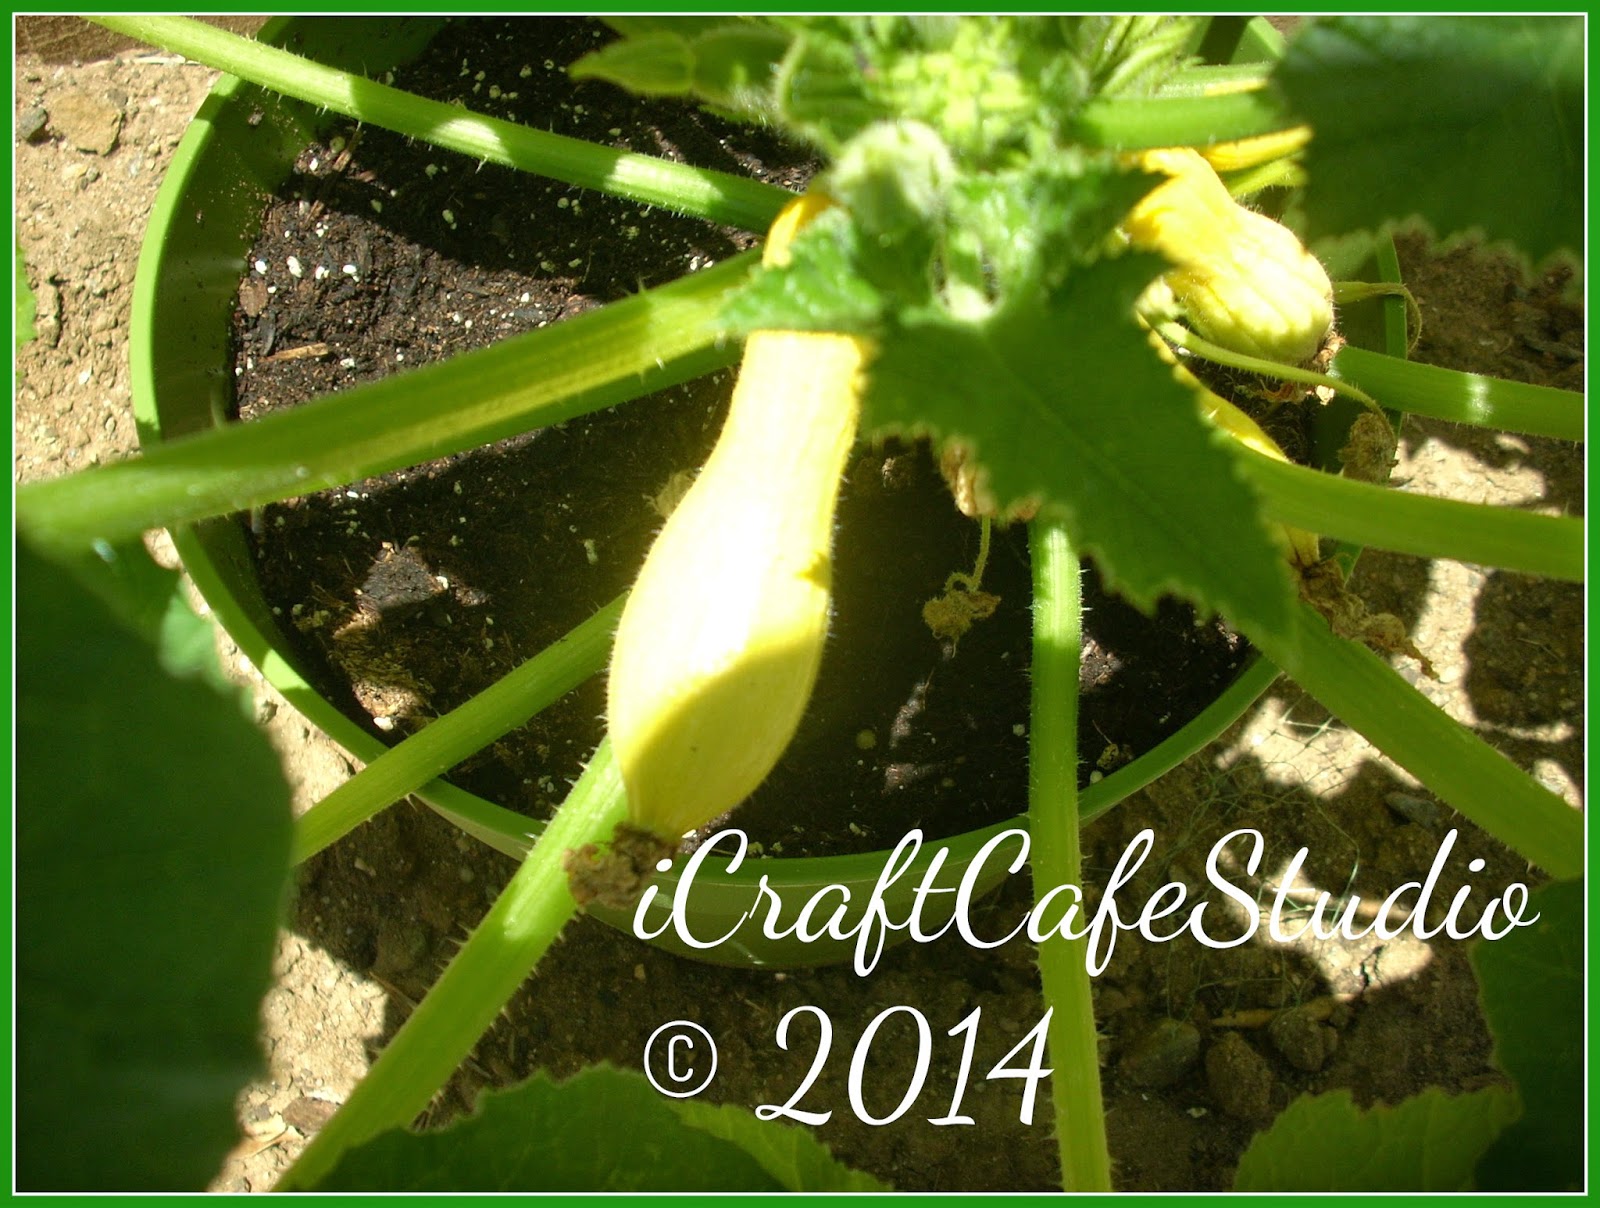
(3) Zucchini or Italian squash :
We had already two or three of them . Not all the zucchini that start growing are maturing . I think it might be because of a lack of bees and an incomplete pollination process . However the ones we had were simply very tasty :)
If you never tried to grow zucchini before , you should . It is relatively easy ! It was the first that I tried :)
(4) Green beans :
I love green beans , but I didn't know if I could grow any . Oh , what the heck ! I just had to try . It started very well...(Most of the plants will generally start well !) ....And it kept growing ! I started to see some little white flowers (Sorry ! No pictures ! All of them got fuzzy !) ...And then a few days later , as I was watering the garden ...I lifted a leaf ...and they were ...green beans ....waiting to be picked up !! Yoohoo !!! I had done it !
(5) Spinach: Sadly none of the spinach survived ! Heat or ...bugs .. or squirrels :(
(6) Peas : I tried planting some peas again (as the other ones died ...) One plant started growing again ....and yesterday .... I noticed a couple of little flowers .
We'll see what happen next !!!!
(7) Onions: I am not sure what the deal is with the onions.. they seem to have a hard time to thrive ...They do not look like they are growing much ...
(8) Yellow squash : Just like the zucchini ..it is pretty easy to grow , but once again , not all of them mature .
Mmmm.....yummy !!!
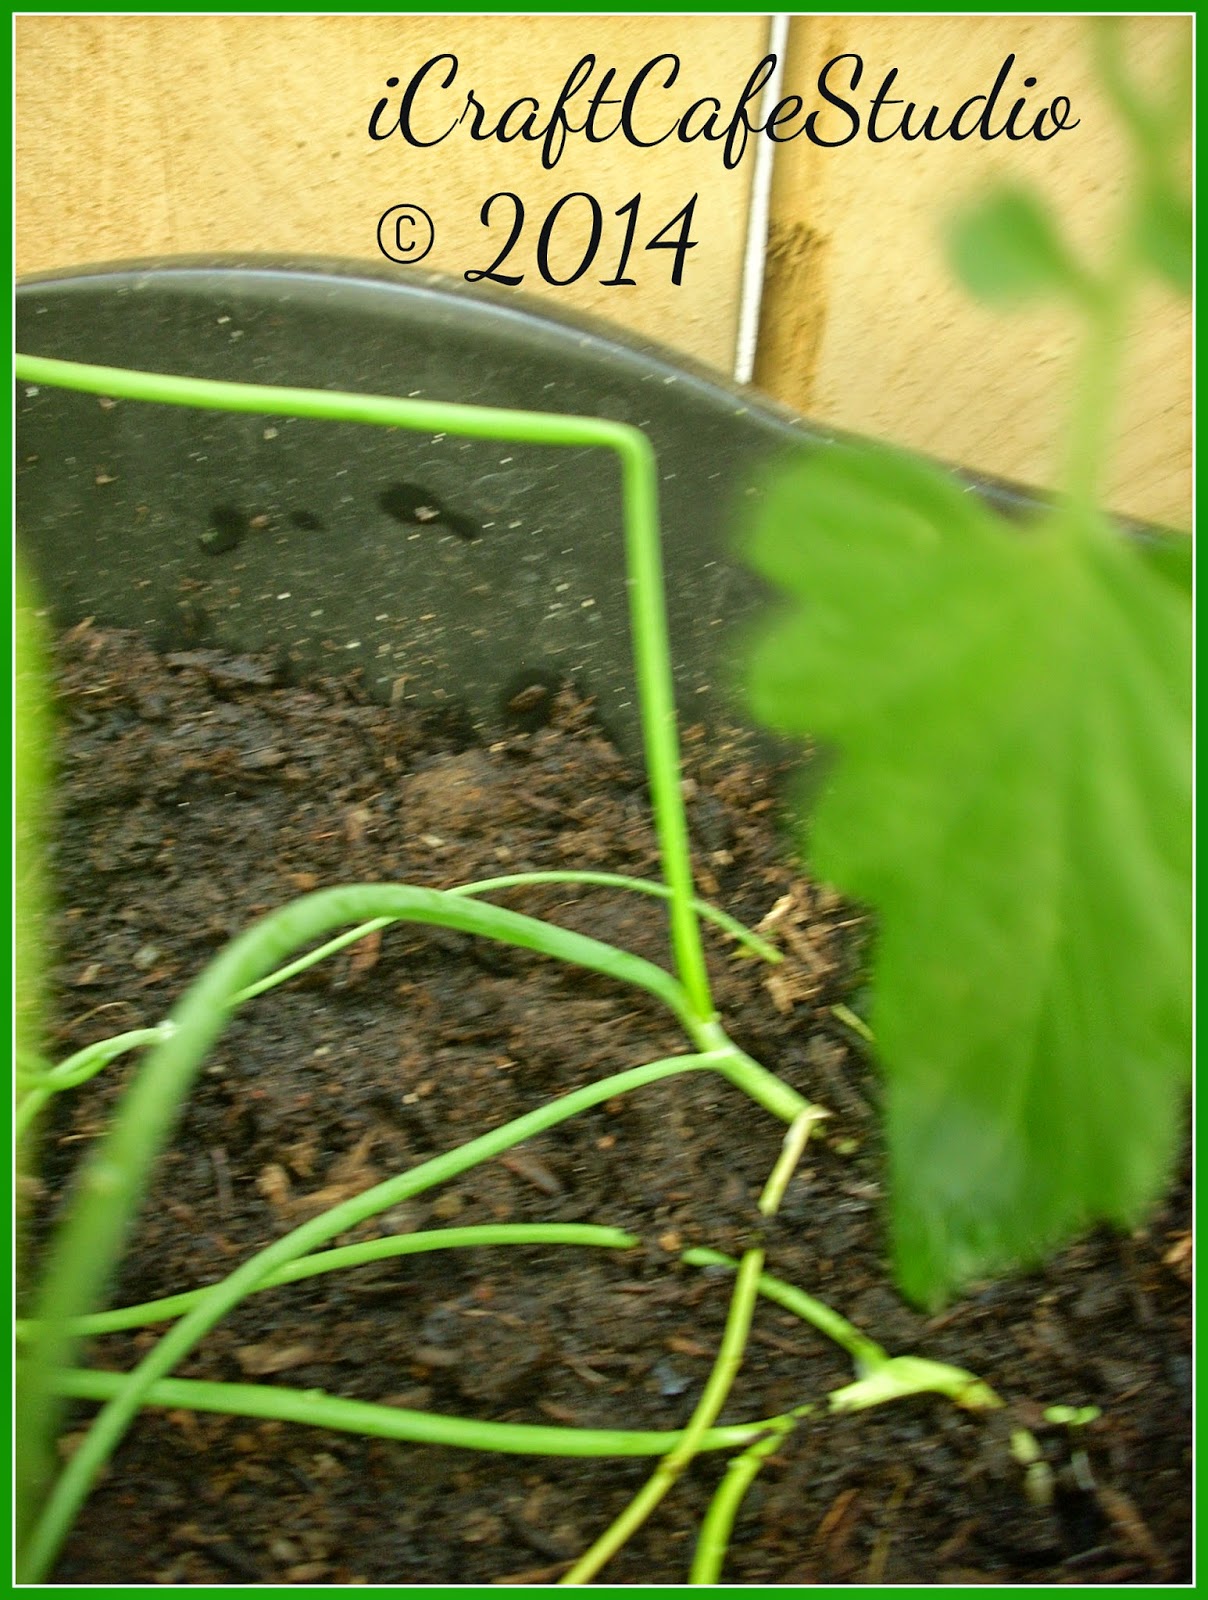
(9) Carrots : Hmm .. the carrots have beautiful leaves ... but their bodies seem very small ...I think they are missing some sun . I planted them with the beans , and they ended up covered by the bean leaves ..
I got impatient ..and I had to see how small one of the carrot was ...See what I mean ?
(10) Lettuce : The lettuce ...At first it did not grow...But I read somewhere that the soil needs to be a certain temperature ...and it should NOT be planted too deep...So I tried again ...and here we are ...
See how beautiful it is growing ?
Look at that ! I was so excited !!!
The lettuce was growing perfectly .....until the starving squirrels ate them all :(....And now they were all gone... Sigh ...
(11) Peppers : Here are the peppers ...
The plant was getting many leaves ...
Even some flowers ...
But then it was hot ...and I think I made yet another mistake ...I overwatered it !!! Now the leaves and the flowers are falling off ....Oh well ...
Flowers :
Let's take a look at our flowers ...Remember , unlike the vegetables , I tried to plant them directly in the soil .
(1) Nasturtium : They seem to be growing well . They can handle a pretty rough soil and seem perfect to grow in our garden .
I was not too excited about those flowers , but they end up to be very pretty with their bright colors :)
(2) Mammoth sunflowers :
And here comes the drama of my beloved giant sunflowers . It is one of my favorite flowers to grow and it is usually fairly easy . But this year ....Oh , my goodness !!! Between the rollie pollies and the squirrels ...it is has been a huge fight ! I had five of them ....and then ...
Look at this one ...it was about 3 to 4 feet tall ...and one morning I went out to find it like that . A squirrel had dug a tunnel underneath completely damaging it :(
I found out that putting an empty roll of toilet paper around the seedling helps protecting the sunflower against the rollie pollies...at least it worked for a while ...
You can remove it once it is bit enough !
This one was my last one ...I thought it was safe from both the rollie pollies and the squirrels ...I couldn't wait for it to bloom ...
But then ....one morning ...I just couldn't believe my eyes ...
....bitten away by a naughty little rodent ...:'( ..Even knocking down one of my poor little garden gnomes...
Here is a view of my vegetable garden ...
Whatever happens to your garden , don't get mad . Just remember that it is a learning experience . As I said in the first post , I am not a green thumb ....but I am learning as I go ...and believe it or not , it is a fun experience. Now if you do that with your children ..they will have the upper hand by the time they get grown-up .Not only that , but they will also more likely appreciate healthy food . All right ! That is is for today . I wish you all a happy gardening adventure :)